15 spooky activities to do you with your children this Halloween
29 October 2020
Halloween is going to be slightly different this year so students, staff and Norlanders have compiled a list of spooky activities that you can do from the comfort of your own home whilst adhering to government guidance.
Remember: it’s important to enjoy these activities together but stay safe! Younger children should always be supervised by an adult. Please also ensure that older children are supervised and practising safe techniques when using sharp implements such as scissors and knives. Also, not all families celebrate Halloween so if you’re doing some of these activities with children you’re caring for, it’s always a good idea to make sure the family are happy with the activities you’re doing.
1. Cotton wool ghosts
All you need for this creative task is to cut out some ghost-shaped pieces of white card, lots of cotton wool balls, some black card cut into eye and mouth shapes and lots of non-toxic PVA glue. Older children can help you to prepare the materials beforehand. Then children can stick the cotton wool balls to the ghost shapes and add the eye and mouth features on top, to make their own ghosts. Pop a hole and some string in the top, and you have a homemade decoration.
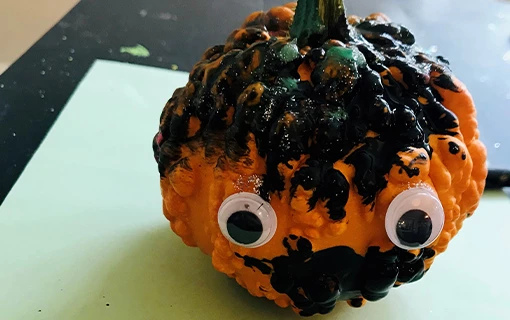
2. Pumpkin painting and carving
For painting, all you need is a small pumpkin for each child, paint brushes, child-friendly paints and a cover for the table. Each child paints their pumpkin however they wish and then they are left to dry before they’re used as Halloween decorations. Older children will enjoy helping you to carve a pumpkin by drawing the face pattern for you to follow and younger children can assist by pulling out the seeds, which adds a sensory experience. Add a lighted tealight and pop on your doorstep.
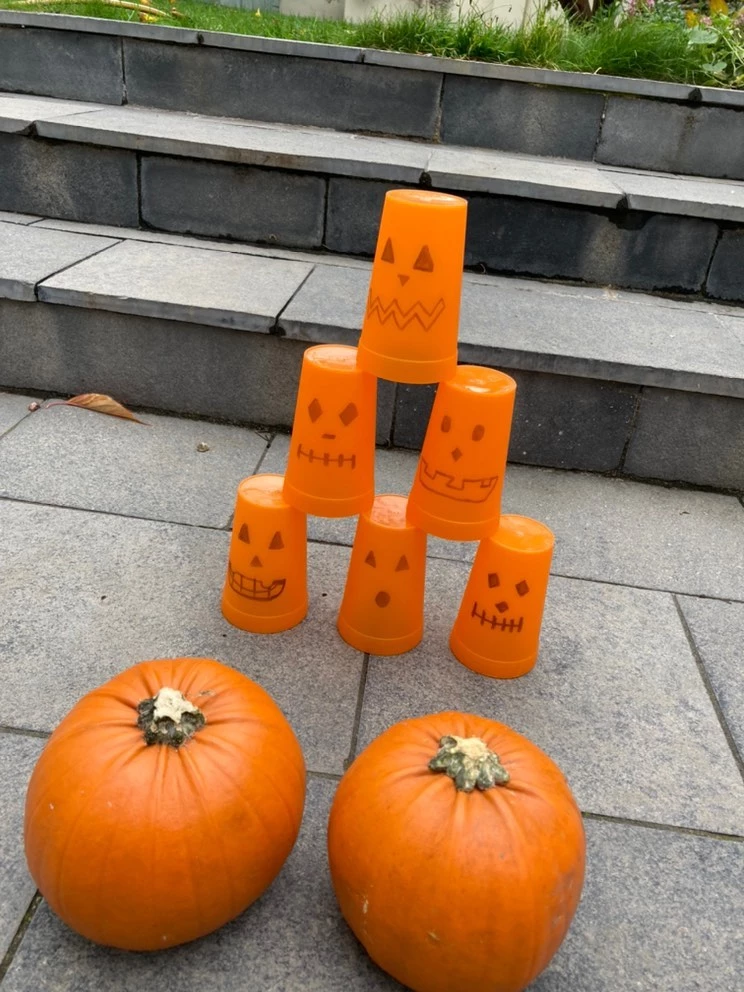
3. Pumpkin bowling
Collect plastic bottles and paint them with white and black child-friendly paint to look like ghosts. Find a small round pumpkin or orange ball. Roll the pumpkin at the ghosts and knock down as many as you can.
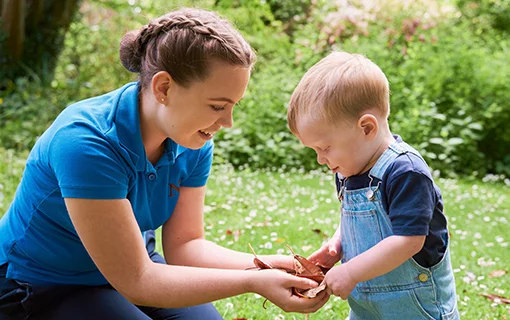
4. We’re going on a leaf hunt
See how many different coloured, shaped and sized leaves you can find, along with any other treasures you discover, on a nature walk. Just make sure that you’re keeping your distance from those around you! Ask the children to place their leaves and treasures into their buckets. You can make the leaf or treasure hunt as simple or as detailed as appropriate to the ages of the children, and it’s a great way to develop language and observation skills. For example, try spelling out words with conkers with children that are learning to read, or create a face with conkers for younger ones.
You can add sticky sticks for variety by covering sticks you’ve found on previous walks with double-sided tape for the children to stick the leaves and other things they find onto the sticks. After your hunt, bring everyone together to show each other what they have found. You can use the different leaves you’ve found to create leaf prints – just dip them in paint and press onto card – or stick the leaves onto card using non-toxic PVA glue to create a beautiful pattern or add some marker pen features to create leaf-hedgehogs.
5. Throw a COVID-safe Halloween Party!
Children of all ages will love to get involved in planning, preparing and throwing a Halloween party. If half term falls ahead of Halloween, then planning and preparing for the party will keep small hands busy. You can create invitations, craft decorations such as Halloween bunting or pumpkin wool pom poms that you can hang onto string, or draw scary faces using a black marker onto orange and white balloons to recreate pumpkins and ghosts.
Get creative in the kitchen ahead of time by drawing with a black non-toxic marker onto the skins of satsumas to create little edible pumpkin faces. Cook brownies together and decorate them to create little graveyard brownies. Red or green jelly makes perfect slime and turning olives, tomatoes or pepperoni on a pizza into spiders using little slices of olive or red pepper will create a creepy pizza. Then use the activities listed here for the party itself. Ask your guests to dress-up in a spooky costume and add fun with an age-appropriate creepy music playlist. Make sure that you’re adhering to the government guidance in your local area – parties are still fun even if the guests are all members of your household!
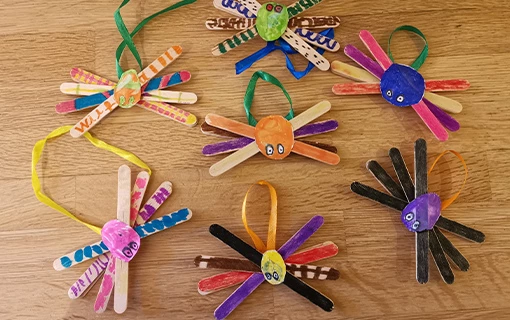
6. Lolly stick spiders
Using lolly sticks, create some hanging spider decorations for your house. Children will love decorating the spiders in lots of different colours and patterns.
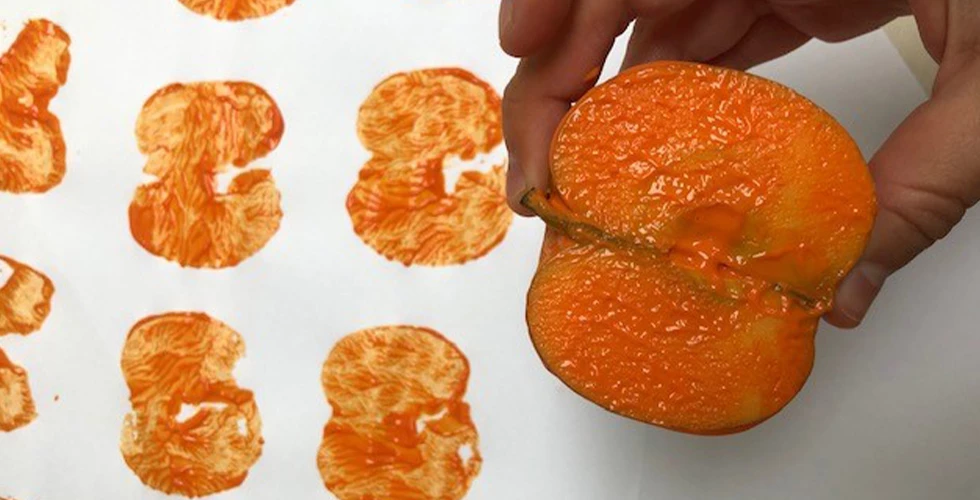
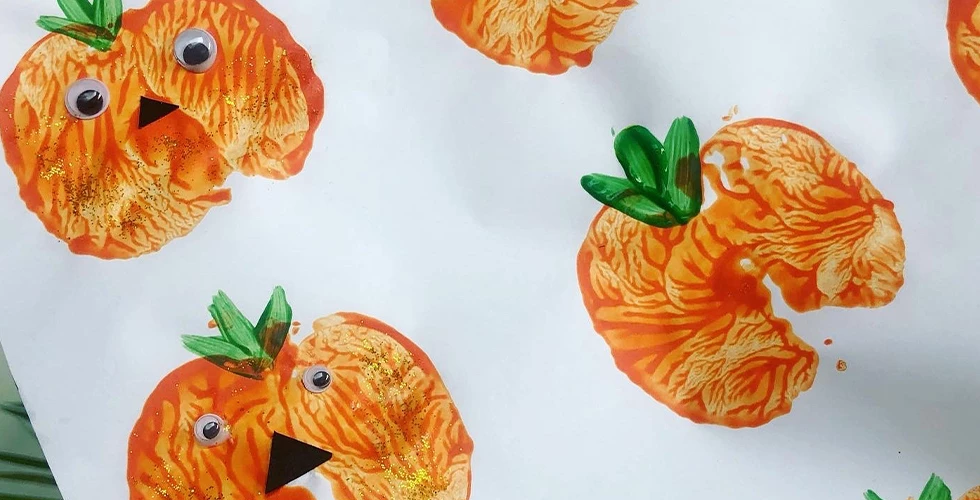
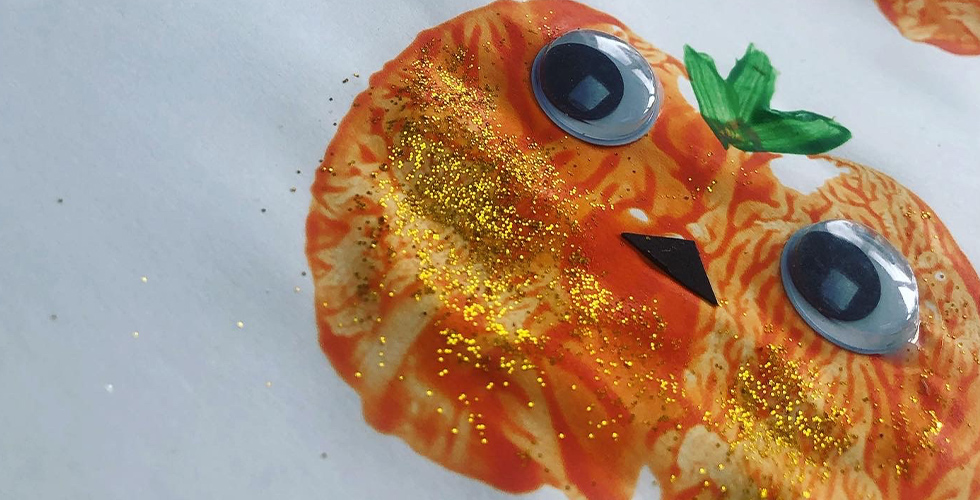
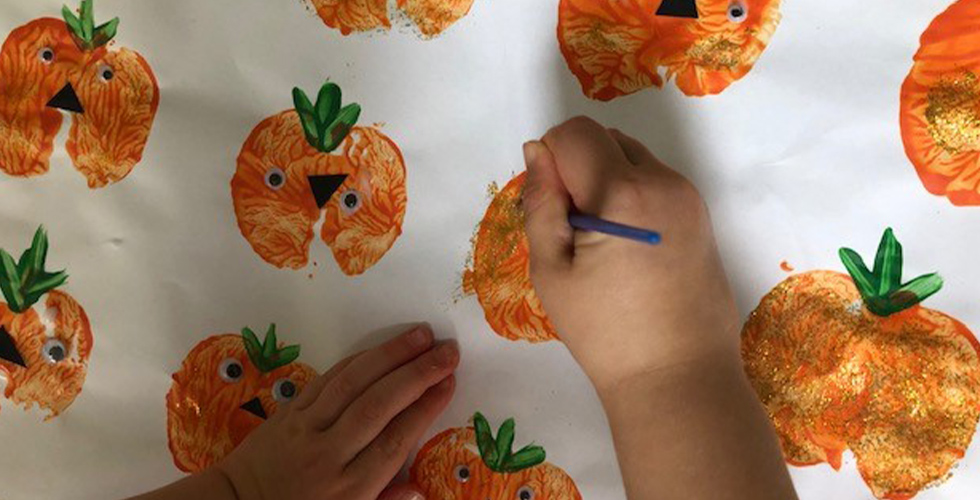
7. Pumpkin apple prints
There are so many activity ideas on the theme of pumpkins. A simple activity is to print apple pumpkins. For this all you need is an apple, orange child-friendly paint, a black marker, googly eyes, non-toxic PVA glue and paper. Then you cut the apple in half, dip it in the paint and print onto the paper, wait for it to dry and decorate. Perfect for creating invitations for a spooky Halloween party.
Pumpkin apple prints

8. Spaghetti worms
A simple and effective Halloween game and sensory activity that children of all ages will love. All you need is cooked and cooled spaghetti and age-appropriate prizes to hide in the spaghetti, such as foil-wrapped chocolate eyeballs, ping-pong-ball eyeballs, spider toys. Children can rummage around in the spaghetti worms for surprises, younger children can just play with the ‘worms’ in the bowl.
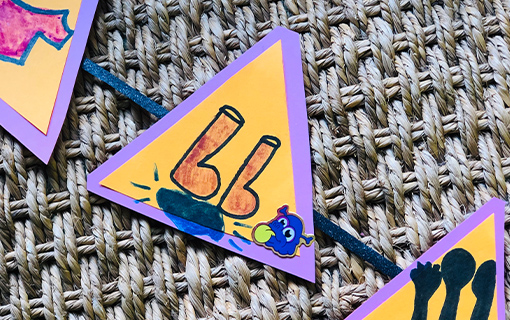
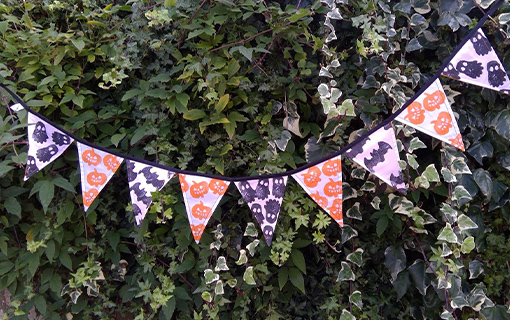
9. Potato-print bunting
Why not make some Halloween-themed bunting using potato prints? All you’ll need are some images of simple Halloween shapes, potatoes, orange and black non-toxic paints, and plain white material (an old white sheet or scrap fabric would work well for this) cut into triangles using a cardboard template. You will need two triangles of material for each piece of bunting. Cut the potatoes in half and then cut out the shape on the potato – older children can help adults with this as part of knife safety awareness training – then children of all ages can sponge the paint onto the potato and then press onto the material. Leave to dry, then place two printed triangles with the plain side facing and sew the longest sides together, before turning them the right side around and ironing them. Sew the triangles onto bias tape or ribbon, then hang up and enjoy.
10. Witches potions and scented gloop
Have fun making witches potions with coloured water using food dyes, slices of lemon and orange, fresh aromatic herbs. Let the children combine baking soda and vinegar for exciting bubbling results. Use saucepans as cauldrons along with mixing spoons and whisks, and plastic bowls for the magic ingredients. Or make scented gloop together by mixing 2 cups of cornflour to 1 cup of water and adding various scented materials, such as lemon juice, vanilla or almond extract. Put the cornflour in the centre of a base – this could be a tray, plastic box or across a wipeable table – and pour the water (slowly!) into the cornflour, stirring gently. When you pour the water, you will feel the mixture changing as you mix! You can also add different colours (using food extract or children’s paint), fake spiders or a sprinkle of glitter – to add an extra sparkle! Please remember to keep reminding young children that gloop is not edible.
11. Monster making
Express creativity by making monsters using lots of arts and crafts materials, such as crepe paper, animal-patterned wrapping paper, googly eyes, monster heads cut-out from card, feathers, spotty stickers and clothes pegs or lollipop sticks and non-tox PVA glue. The resulting monster puppets are perfect for performing a homemade Halloween puppet show.
Or you could turn monster-making into a sensory activity by playing ‘guess what’s inside the monster’s mouth’. Together, decorate a box to make it look like a friendly monster, with a hole for its mouth. If you use kitchen roll or newspaper and glue as a papier-mâché, you can smooth over any stickers on the box or create features such as eyebrows. Attach some string or material to the hole to prevent children being able to see inside. Then put different everyday objects from around the house in his mouth, so that children use their senses to guess what’s inside the monster’s mouth by how it feels. Object ideas include a metal spoon, a toy car, a small musical instrument, a toy bug, a whisk, a banana, a wooden yo-yo and so on. For older children, who are less likely to be spooked, you could stick to the Halloween theme with spooky objects and children can be put into teams and given 20 seconds to guess an object. Add cooked and cooled spaghetti for a heightened sensory experience.
12. Pumpkin play clay
All you need for this is:
- a blend of cinnamon, nutmeg, ginger cloves and allspice (or ready made pumpkin spice)
- Gluten free cornflour
- Canned pumpkin puree
This play clay is gluten free, mouldable, smells like a pumpkin and is edible so it’s safe for children.
This is a fun activity to do in the home and allows children to explore their senses and imagination. You could even create a decoration for the house!
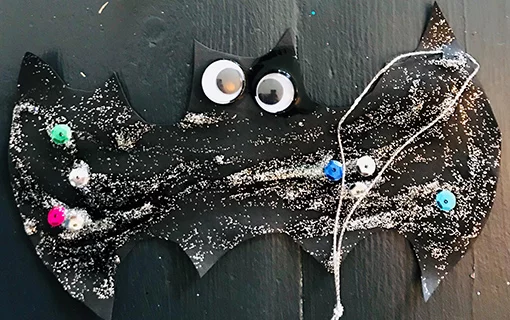
13. Hanging bat decorations
If you don’t like spiders, then instead of making the spider decorations above, why not try bats! Using whatever arts and craft materials you have in your house, make some hanging bat decorations.
14. Indoor trick or treating
Allow your child to create their own witch and write your own cryptic clues around this house. This way your child can still enjoy a ‘Trick or Treat’ experience to remember! Below are some examples that we have used for indoor Halloween themed ‘Trick or Treat’ activities.
“Halloween is a chance to stay up late!
Where do you find your cup and plate?” – cupboard
“Is it black, or is it blue?
Maybe look in a purple shoe?” – purple shoe
“A Halloween monster is big and scary,
Where would you dress up as a sparkly fairy?” – dressing up box
“You put food in me to make it last,
But be quick, when you get these out, they melt fast” – freezer
15. Create your own witch
There are lots of ideas that you can use to help to write a spell or to make a wish for your little ones! Draw triangles and create witches hats. Allow your little ones to cut them out to create triangle shapes. This will help to support their motor skills. Your little one will be able to decorate them how they wish! These can be used as clues, or objects to hunt for, for those who are too little to read. Like a hide and seek, but for witches hats!
Alternatively, you could use your witches hats as clues. Again, for those who may be too little to read, you could use objects or pictures. Here, the children are able to find various pictures that they recognise around their homes.
You could also create your our own witches broomsticks by going on a nature walk and collecting fallen sticks and leaves. Simply stick the leaves to the sticks you find. Another version you could try is to collect fallen leaves and sticks and then print them using paint to create broomstick pictures. Use eco-friendly natural paints so that you can compost the sticks and leaves afterwards. For the best result, paint on the bumpiest side of the leaf. Then hide them around the house for children to seek. Each broomstick may have a trick or treat next to it! For example, you could provide a pile of sticks by a broomstick that could be used by the finder to create their own natural photo frame, or they could create an image of their choice with the sticks!
We’d love to see your creations! If you take part in any of these activities, share them on social media and tag us @NorlandCollege!